|
||||
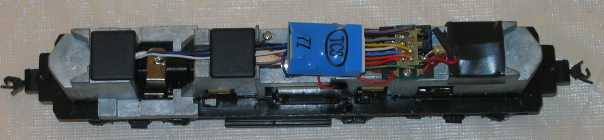
into a Proto2000* GP-9 One of my customers wanted a two function decoder installed in a Proto 2000 GP-9. This is a relatively easy install to do. I used the TCS T-1 decoder with their P2K harness. Begin by removing the body shell if necessary. Unplug the NMRA connector from the light board. Remove the two screws holding the light board to the chassis (Hold on to the screws you will need them later.)
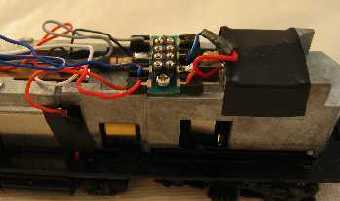
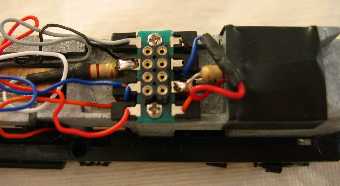
Trim the wires for the headlights to length, giving yourself some extra, just in case! And after putting on some heat shrink tubing, solder them to the cut down ends of the dropping resistors. Plug in your decoder and harness and head for the programming track. The finished installation should look like mine.
I hope that you enjoy your locomotive for a long time!
If you have any questions I can be contacted at www.dunelanddcc.com.
|
Copyright by Allan Gartner 1996 - 2006 © All rights reserved. You may print this for your own, personal, non-commercial use. Non-commercial, non-personal reproduction may be requested by visiting www.WiringForDCC.com/writeme.htm . All users, commercial and non-commercial, may link only to this site at www.WiringForDCC.com. Thanks to all who contribute to this site and the Q&A forum! |